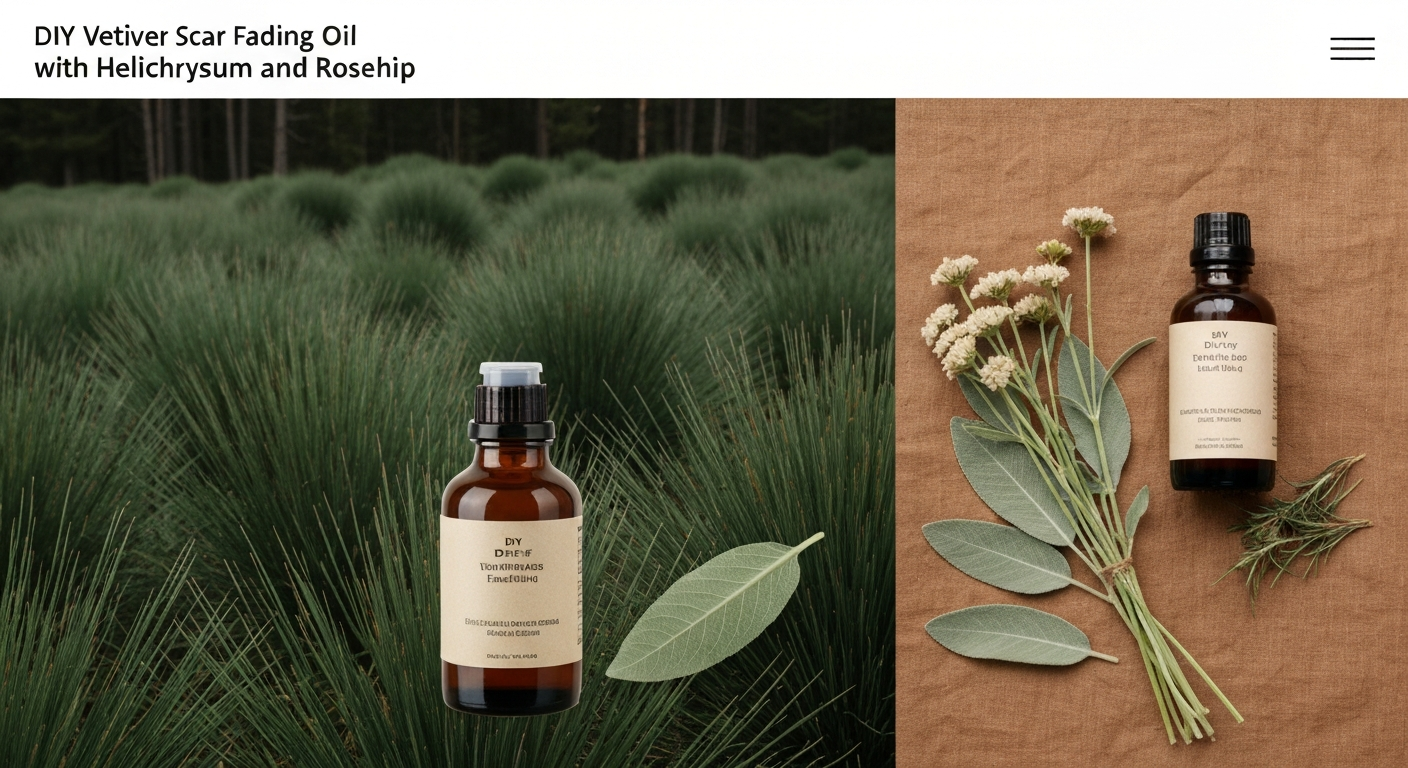
DIY Vetiver Scar Fading Oil with Helichrysum and Rosehip
In the quiet ritual of skincare, there's something deeply grounding about creating your own nourishing blend. This vetiver scar oil recipe combines the earthy wisdom of vetiver with the gentle regenerative properties traditionally associated with helichrysum and rosehip seed oil. While these oils won't erase scars completely, many people report that consistent use may help support the skin's natural renewal process.

This homemade scar fading oil represents more than just a blend—it's a mindful practice of self-care that connects you to nature's gentle offerings. Each drop carries the concentrated essence of plants that have been treasured for centuries for their potential skin-supporting properties.
Understanding the Synergy
The foundation of this vetiver helichrysum scar blend rests on the complementary nature of its components. Vetiver oil for scars has been traditionally valued in folk practices for its potential to support skin regeneration processes. Some research suggests that vetiver's compounds may help promote cellular renewal, though more studies are needed to fully understand these mechanisms.
Helichrysum essential oil, often called "immortelle," has long been associated with skin healing in traditional Mediterranean practices. Anecdotal evidence suggests it may help support the skin's natural healing processes, particularly when addressing the appearance of scars and blemishes.
Rosehip seed oil serves as our nourishing carrier, rich in vitamins A and C, essential fatty acids, and antioxidants that may help maintain skin health and elasticity.
Recipe Overview
| Difficulty Level: | Beginner |
| Prep Time: | 10 minutes |
| Total Yield: | 1 fl oz (30ml) |
| Shelf Life: | 6-12 months (stored properly) |
Complete Ingredients List
Essential Oils
- 6 drops Vetiver essential oil (Vetiveria zizanioides)
- 4 drops Helichrysum essential oil (Helichrysum italicum)
- 2 drops Lavender essential oil (Lavandula angustifolia) - optional for scent balance
Carrier Oils
- 20ml (4 teaspoons) Rosehip seed oil, cold-pressed
- 8ml (1.5 teaspoons) Jojoba oil
- 2ml (0.5 teaspoon) Sea buckthorn oil (optional, for vitamin content)
Optional Additions
- 2 drops Vitamin E oil (natural preservative)
- 1 drop Frankincense essential oil (additional skin support)
Equipment Needed
- 1 oz amber glass bottle with dropper or pump
- Small glass measuring cup or beaker
- Glass stirring rod or clean spoon
- Small funnel (optional but helpful)
- Labels for dating and identification
Step-by-Step Instructions
Step 1: Prepare Your Workspace
Create a clean, calm environment for blending. Wash your hands thoroughly and sanitize your equipment with rubbing alcohol. This mindful preparation sets the intention for your DIY vetiver scar treatment.
Step 2: Measure Carrier Oils
In your glass measuring cup, combine the rosehip seed oil and jojoba oil. If using sea buckthorn oil, add it now. The carrier oils should represent 97-98% of your final blend, ensuring proper dilution of the essential oils.
Step 3: Add Essential Oils
Slowly add the vetiver essential oil, counting each drop mindfully. Follow with the helichrysum and optional lavender. The total essential oil concentration should not exceed 2% of the blend (approximately 12 drops per ounce).
Step 4: Blend Gently
Stir the mixture gently with your glass rod, moving in a clockwise direction. This gentle motion helps integrate the oils without creating excessive agitation.
Step 5: Add Preservative
If using vitamin E oil, add it now as a natural antioxidant to help extend shelf life.
Step 6: Transfer and Label
Using your funnel, carefully transfer the blend to your amber glass bottle. Label with the ingredients, date of creation, and "For external use only."
Critical Safety Guidelines
Important: Always perform a patch test before using any new oil blend. Apply a small amount to the inside of your wrist and wait 24-48 hours to check for any adverse reactions.
Dilution Considerations
- This recipe maintains a 2% essential oil dilution, appropriate for adult facial use
- Pregnant or nursing women should consult healthcare providers before use
- Children under 6 should not use essential oils; ages 6-12 require 0.5-1% dilution
- People with sensitive skin may need further dilution
Contraindications
- Do not use on open wounds or broken skin
- Avoid contact with eyes and mucous membranes
- Discontinue use if irritation occurs
- Those with plant allergies should exercise extra caution
Proper Storage and Shelf Life
Store your blend in a cool, dark place away from direct sunlight. (See: NIH — Vetiver Research.) The amber glass bottle helps protect the oils from UV degradation. When properly stored, this blend may maintain its potency for 6-12 months, though rosehip oil has a shorter shelf life than other carrier oils.
Signs your oil needs replacement include:
- Rancid or off odors
- Cloudy appearance
- Separation that doesn't resolve with gentle shaking
- Skin irritation that wasn't present initially
Application and Usage
Apply 2-3 drops to clean skin, gently massaging in circular motions. For vetiver oil for skin applications, less is often more. The oil should absorb within 10-15 minutes without leaving a greasy residue.
Use once or twice daily, preferably after cleansing and before heavier moisturizers. Some people prefer evening application to allow the oils to work overnight without sun exposure concerns.
Variations and Substitutions
For Sensitive Skin
Replace half the rosehip oil with gentle sweet almond oil and reduce essential oil content to 1.5% dilution (9 drops total).
For Mature Skin
Add 1-2 drops of frankincense or geranium essential oil, staying within the 2% dilution limit.
Budget-Friendly Version
Substitute fractionated coconut oil for half the jojoba oil while maintaining the rosehip seed oil for its beneficial compounds.
Carrier Oil Alternatives
- Argan oil: Excellent for its regenerative compounds
- Tamanu oil: Traditionally used in Pacific Island cultures for skin support
- Evening primrose oil: Rich in gamma-linolenic acid
Understanding Realistic Expectations
While this blend combines oils traditionally associated with skin regeneration, it's important to maintain realistic expectations. Scars are part of the body's natural healing process, and their appearance may improve over time with consistent care, but complete elimination isn't typically possible with topical treatments alone.
Some people report that regular use of such blends may help improve skin texture and reduce the appearance of certain types of scars, particularly newer ones. However, results vary significantly based on factors like scar type, age, skin type, and individual response.
Complementary Practices
Enhance your skincare ritual by incorporating these mindful practices:
- Gentle facial massage while applying the oil
- Deep breathing exercises during application
- Consistent sleep schedule to support natural skin renewal
- Adequate hydration and balanced nutrition
- Sun protection to prevent further skin damage
When to Consult Professionals
While natural skincare can be deeply rewarding, certain situations warrant professional guidance. Consult a dermatologist for:
- Raised, keloid, or hypertrophic scars
- Recent surgical scars (wait for complete healing)
- Signs of infection or unusual changes in existing scars
- Persistent skin irritation from any topical treatment
Remember that vetiver wound healing applications should only be considered for fully healed skin, never on active wounds.
Creating your own vetiver scar oil recipe connects you to the ancient practice of using nature's gifts for skin wellness. While we can't promise miraculous results, we can embrace the ritual of self-care and the potential that consistent, gentle attention to our skin may offer. In this quiet act of preparation and application, we find both grounding and hope—two essential elements for any healing journey.